Embedding XP360 in Your Website or Blog

Want to add XP360 experiences into your website but don’t know where to start, or don’t have a developer? Here is a quick and simple guide from AerialSphere to help you get started with a simple embed and only having to add 5 things.
If you have a developer, please refer them to our XP360 API product documentation.
Putting immersive 360-degree aerial experiences on your website or blog is a great way to engage your visitors by providing a completely new way to view a location as if they were controlling the camera themselves. Putting something interactive like this on a website is called embedding, and in this guide we will walk you through how to get it done right.
Before You Start
Since you made it this far, you probably have your eye on an amazing XP360 experience that you want to show off – have you signed up for your free trial of XP360 yet? If yes, skip to: Get Your API Code. If not, click here to sign up.
The full code we are using here can be copied and pasted from the JSFiddle at the bottom of this tutorial. *Remember to use your own API key or this embed code won’t work on your site.
Get Your API Key
Fortunately, signing up for your API trial code is fast, easy and free! Once you are logged in, click the “key” icon in the left side of the page. This will bring up your list of API keys – you can copy your code and keep your key for use later on in this guide or keep this tab open so you can reference when you are ready to enter your key into the code.
Customize Your Embed Code
Enter in Your API Key
The second line of the embed code includes the API key, which is necessary for all of the code to work. It will look like this:
<script src="https://app.aerialsphere.com/api/map/js?key=b8927f85-f980-4591-a089-2e9f99649528"></script>
The portion of code in red is your API key – make sure to replace the above key with yours. (this one isn’t active and won’t work)
Choosing Your Experience
XP360 automatically chooses the closest experience to the latitude and longitude you provide. This first portion of code is where you enter in the location you are interested in. If you don’t know the latitude and longitude of the location you are looking for, you can easily obtain it from Google Maps:
- On your computer, open Google Maps.
- Right-click the place or area on the map.
- Select the latitude and longitude, this will automatically copy the coordinates.
Once you have your coordinates, place the latitude and longitude in the sphereLat and sphereLong areas.
sphereLat: 40.709522999038555, // Experience Location
sphereLng: -74.02427655377613, // Experience Location
Choosing where the camera is facing (center of screen)
You can direct the viewer to load facing any place on the map. For example, you may want your subject location is right in the middle of the screen. The easiest way to do this is to reuse your latitude and longitude from sphereLat and sphereLng as the lookAtLat and lookAtLng coordinates. If you want to give a different perspective of your location, you can provide coordinates of where you want the center of the screen to be and enter in those coordinates for the lookAt entries. This can sometimes take a little playing with to get your perfect perspective.
lookAtLat: 40.709522999038555, // Subject Location
lookAtLng: -74.01061093050932, // Subject Location
Field of View: (in degrees) how much of the experience is visible on load
You can control how much of the experience is visible on initial load. The smaller the number the, tighter the view; Typical default settings for this fall between 50 and 80.
cameraFov: 70, // Default Field of View
Minimum and Maximum Field of View levels
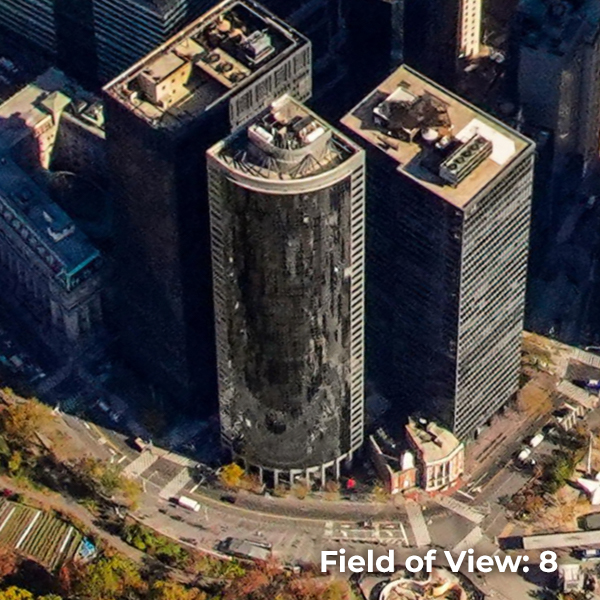
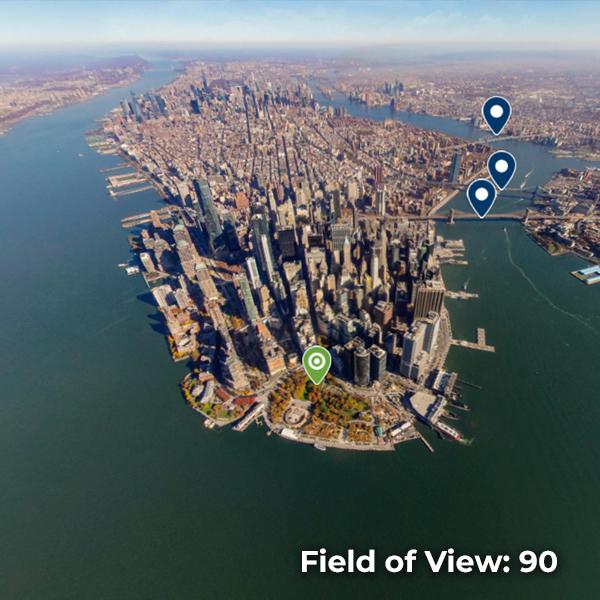
Even with the default zoom set using cameraFov, users will still be able to zoom in or out. The values for cameraFovMin and cameraFovMax control the maximum and minimum zoom for the viewer.We usually suggest to keep the values between 5 and 90 to keep the image from becoming distorted or grainy.
cameraFovMin: 8.0, // Field of View Minimum (>5)
cameraFovMax: 90.0, // Field of View Maximum (<90)


Additional experiences in distance
It is easy to include other nearby experiences (indicated by green spheres) so the viewer can hop from experience to experience. You can specify the the distance (in meters) that you would like to include experiences or you can turn it off completely by setting this value to zero.
panoMarkerDistance: 0, // Distance (in meters)
Adding locations/points of interest to your experience
XP360 allows you to add locations within your experience, which include an icon marker, and a popup with a description when clicked. Locations are added with latitude and longitude, not addresses. You can refer to our instructions for obtaining latitude and longitudes from Google in the “Choosing Your Experience” section.
Let’s create descriptions for each point. Find the section that says: // Content for Map Pop-ups. These descriptions should match up with your location of marker “names” that you have in the previous section. You will want to replace the content inside of the <div> and </div> These areas accept inline CSS styling, so you can add <H> styles for the title and normal text for descriptions.
const description1 = ('<div><h2>Battery Park</h2></div>');
const description1 = ('<div><h3>Battery Park</h3><p>A public park located at the southern tip of Manhattan Island.</p></div>');
Once you have your locations ready, find the section that has // Location of Markers. Here you can list as many locations as you wish and designate a unique icon for each. The important steps to adding a location are:
- Add Latitude and Longitude coordinates.
- If you have more than 1 location, make sure the “name” has its own unique identifier number, such as description1, description2…and so on.
- You can enter in the name of the icon you would like to use. To see a list of available icons & their names, click here.
aerialSphere.addMarker({lat: 40.703839042674154, lng: -74.01542105097009 , name: description1, icon: 'search' });
You are Now Ready to Embed Your Code on Your Site
Once you are happy with your customized embed code, you are now ready to embed it into your website. How you do it really depends on your site (HTML, Wordpress, etc.). For most CMS-based platforms, you can create a code block in your builder and paste the embed code in there & you will be good to go! If you have a HTML-based site, pasting the code in your content area should work fine.
Try it for yourself.
Feel free to edit the code below with your own data/locations to see how easy it is to use the XP360 API in your own site or blog. Change your code in the HTML tab, and view your experience in the “Result” tab.


